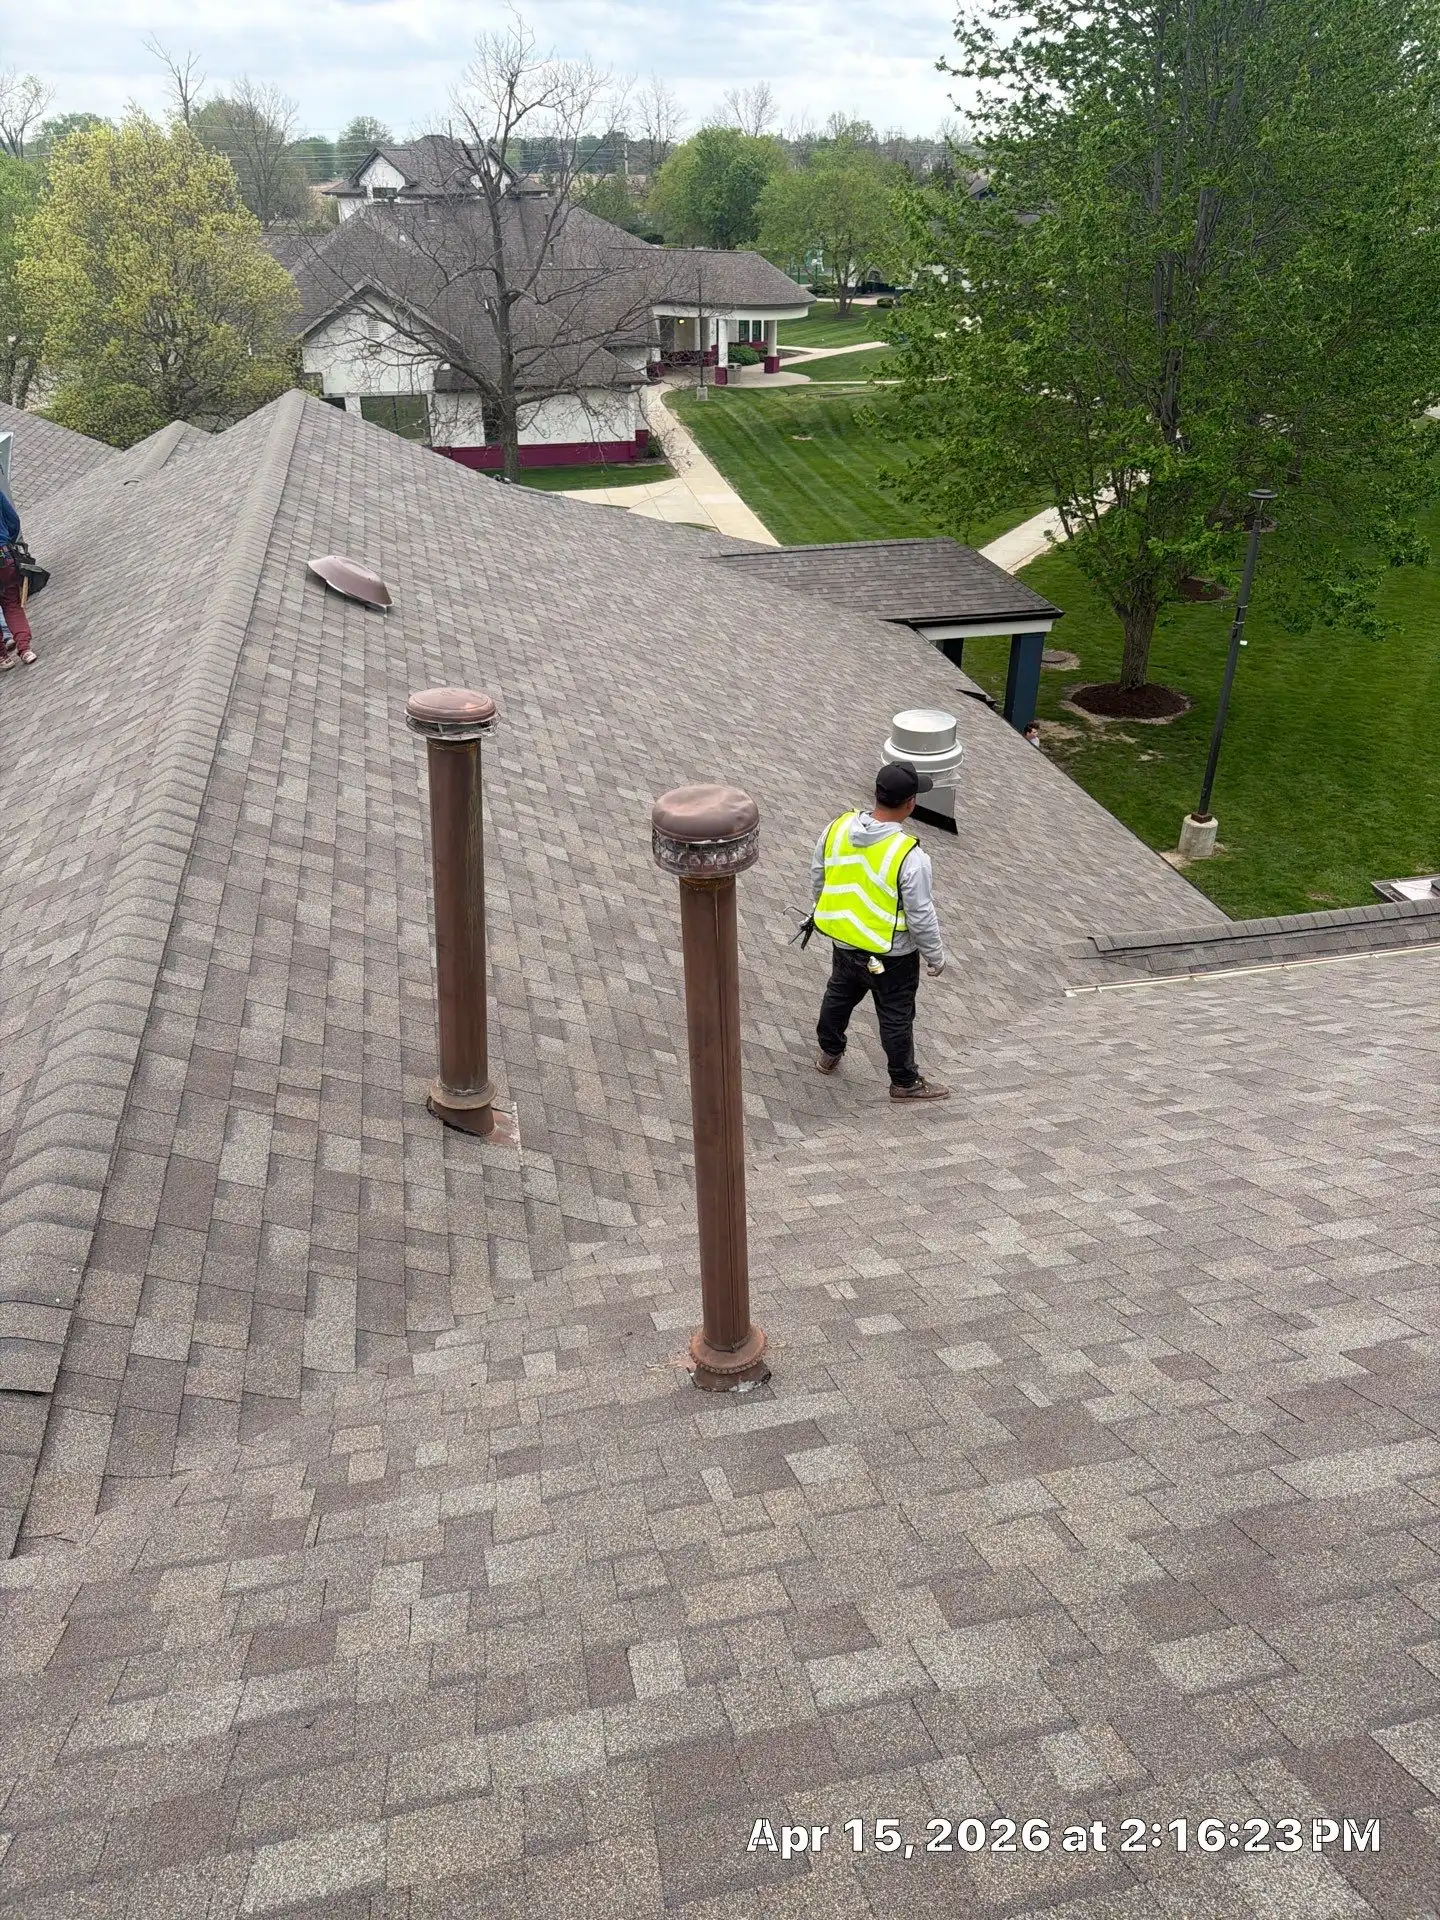
Step by-Step Commercial Roof Leak Repair Sequence
Below is the precise technical walkthrough our Bremen crews follow from the first phone call to final documentation. Each step has measurable inputs and outputs.
Step 1: Phone Triage and Severity Classification
- Confirm roof type: TPO, EPDM, PVC, modified bitumen, BUR, or standing seam metal.
- Confirm approximate roof age in years and last known service date.
- Document active interior symptoms: ceiling tile staining, drips per minute, electrical proximity, tenant impact.
- Classify severity: Level 1 (slow stain, no drip), Level 2 (active drip under 10 gpm equivalent), Level 3 (sheeting water, tenant evacuation risk).
- Schedule dispatch priority based on severity and the weather forecast across the next 24 to 72 hours.
- Capture site access details: gate codes, key holder contact, parapet height, roof hatch versus exterior ladder, and any required certificates of insurance.
- Flag life safety concerns immediately: water near electrical panels, fire alarm devices, elevator equipment rooms, or commercial kitchen hood circuits.
Step 2: Site Arrival and Interior Containment
- Set up containment under active drip zones using 6 mil poly and collection bladders rated to 30 gallons.
- De energize any circuits within 36 inches of active water using lockout/tagout procedures.
- Move or cover inventory, electronics, and finished goods within a 10 foot radius of the drip.
- Take initial moisture readings on drywall (target reading under 1 percent on Tramex), ceiling tile, and any exposed insulation.
- Photograph all pre existing conditions for the insurance file. Reference our commercial water damage insurance claim process for documentation standards.
- Install temporary signage and cones to keep employees, customers, and forklifts clear of the impacted footprint.
- Log start time, ambient temperature, and relative humidity. These values become baseline data for the drying log.
Step 3: Rooftop Inspection and Leak Origin Mapping
- Walk the entire roof in a grid pattern at 10 foot spacing, not just the area above the drip.
- Inspect all penetrations: HVAC curbs, plumbing vents, gas lines, conduit, drains, scuppers, skylights.
- Check perimeter terminations, coping caps, and counterflashing for separation greater than 1/8 inch.
- Use infrared thermography after sunset or before sunrise to identify wet insulation thermal signatures.
- Take core samples (1 inch diameter) at suspect areas to confirm insulation moisture content above 5 percent by weight.
- Inspect rooftop equipment for failed gaskets, missing screws, condensate line discharge onto the membrane, and refrigerant line pitch pockets that have shrunk below the sealant dam.
- For complex origin tracing, refer to our roof leak origin detection methodology.
Step 4: Emergency Dry-In and Tarping
- For active leaks pending permanent repair, install peel and stick membrane patches (minimum 12 inch overlap on all sides).
- For larger compromised areas, deploy reinforced poly tarps (10 mil minimum) secured with treated 2x4 battens and #14 fasteners at 12 inch on center.
- Seal tarp edges with butyl tape rated to minus 20 F application temperature.
- Verify drainage paths remain clear so dry in does not pond water at a different location.
- Mark the perimeter of the dry in with high visibility paint and note the install date so the area is not forgotten before permanent repair.
- Re check tarp tension and fastener pull out resistance after the first wind event above 25 mph.
Typical Bremen Commercial Roof Repair Cost Ranges
Ranges reflect typical Central Indiana conditions and vary by roof access, deck type, and material availability.
Step 5: Permanent Repair Material Selection
- TPO membrane: minimum 60 mil reinforced, heat welded at 1100 F nozzle temperature, 1.5 inch minimum weld width, probe tested.
- EPDM: 60 mil with primer and 6 inch cover tape, or 90 mil for ballasted systems.
- Modified bitumen: torch applied or self adhered SBS cap sheet, 3 inch side laps, 6 inch end laps.
- Metal panels: matching gauge and finish, butyl tape under laps, gasketed fasteners at 12 inch on center.
- Coatings: silicone or acrylic at 2 to 3 gallons per 100 sq ft over primed substrate.
- Verify substrate temperature is at least 5 F above dew point before applying any adhesive, primer, or coating.
- Match manufacturer warranty lineage where possible. Mixing brands on a warranted roof can void coverage on the surrounding field.
Step 6: Deck and Insulation Remediation
- Cut out and replace any insulation reading above 10 percent moisture content.
- Inspect steel decking for corrosion, concrete decking for delamination, and wood decking for rot.
- Replace fasteners pulling out under 300 lbf using oversized backout plates rated for the deck type.
- Taper fill any depression that ponds water deeper than 1/2 inch 48 hours after rainfall using slope cut ISO board.
- Document interior drying with our standard water damage drying timeline protocols.
Step 7: Quality Verification and Documentation
- Flood test repaired areas with 2 inches of standing water for 24 hours where structure allows.
- Re scan with infrared 48 to 72 hours after repair to confirm no residual moisture migration.
- Probe every linear foot of new heat welded seam with a cotter pin puller at 5 lbf to confirm full fusion.
- Issue written warranty covering workmanship for 1 to 5 years depending on scope.
- Deliver photo report, moisture logs, material data sheets, and invoice formatted for insurance submission.
Step 8: Preventive Recommendations
- Schedule semi annual inspections (spring and fall) for any roof over 7 years old.
- Clear drains and scuppers quarterly during leaf season.
- Re caulk pitch pans annually using non shrink urethane sealant.
- Document baseline core samples for future moisture comparison.
- Walk the roof after any hail event over 1 inch diameter or sustained winds above 50 mph.
- Keep an as built roof plan in the building manager's office showing penetrations, drains, and prior repair locations.
Step 9: Crew Safety and Compliance Inputs
- Verify fall protection: anchor points rated to 5,000 lbf per worker, retractable lifelines, and warning lines set back 15 feet from any unguarded edge.
- Confirm hot work permits when torch, welder, or open flame is used. Maintain a fire watch for 30 minutes after work ends.
- Monitor ambient conditions: do not heat weld TPO below 40 F substrate temperature without supplemental warming.
- Stage materials so point loads stay under 25 psf on lightweight steel decks.
- Brief every Bremen Commercial Roofing crew member on the site specific emergency egress plan before stepping onto the roof.